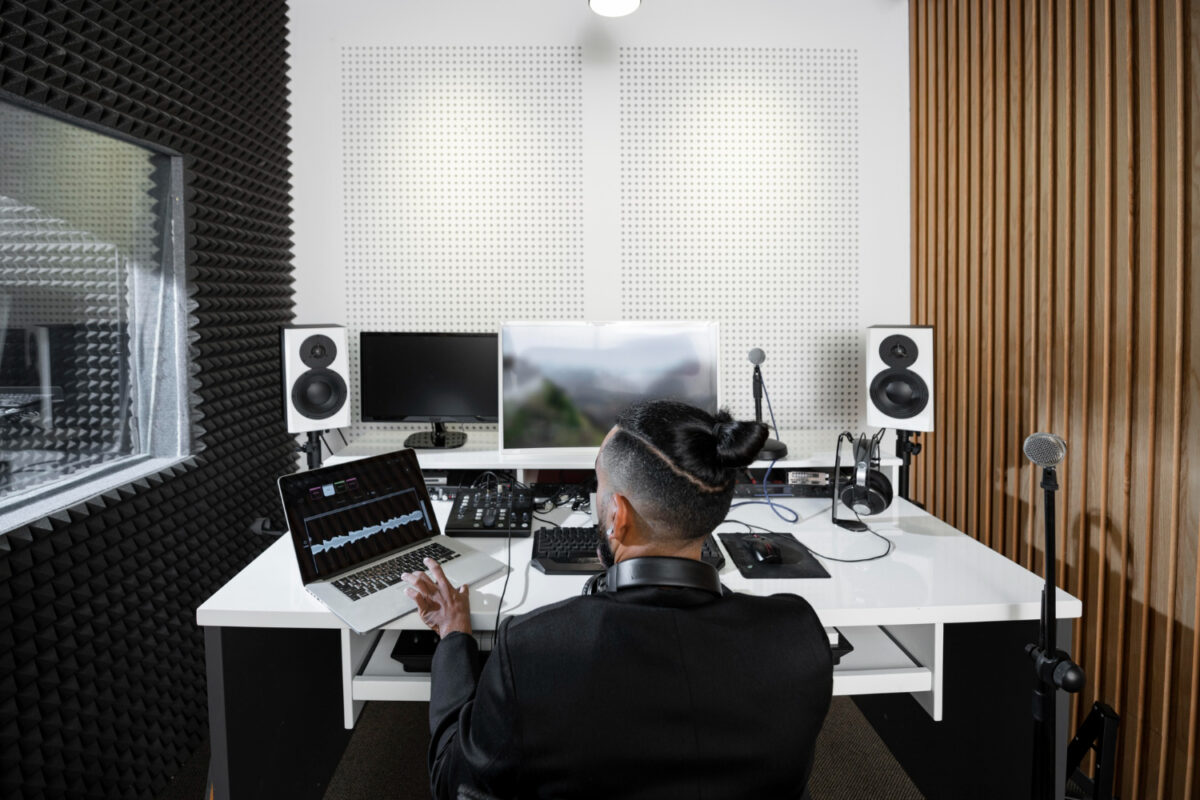
Making great recordings doesn’t have to be done only within an expensive professional recording studio. With the right know-how, you can make amazing-sounding recordings and sound mixing right in your own home or project studio. Visit us for more tips: “Rian/Hunter Production“.
Whether you’re an experienced audio engineer or just starting out, these tips and tricks for recording sound will help get your mixes sounding their best. In this blog post, I’ll go over some of the basics such as microphone types and placements, software settings, and other techniques that will guide you through creating a crystal clear sound every time. Grab your recording equipment and let’s get started.
Choose the right microphone for the job
Different microphones capture different sounds and offer different levels of quality. For example, a large diaphragm condenser microphone is great for capturing vocals and instruments with clarity while a dynamic microphone can handle louder sources like drums better. When deciding on which one to use, consider the sound source you’re recording and what type of quality you need.
Position your microphone correctly
Setting up your microphones is one of the most important steps in recording. For example, when capturing vocals, you’ll want to have the microphone close enough to capture all the nuances of the performance but not so close that it creates unwanted noise caused by plosives (the “p” and “b” sounds). With acoustic instruments, the microphone should be placed close enough to the sound source so that the full range of frequencies can be picked up, but far enough away that it doesn’t capture too much from other surrounding instruments.
Adjust your recording levels
Setting the optimum recording level is important for capturing a great-sounding signal without any unwanted noise or distortion. When setting the recording level, you’ll want to make sure that it’s high enough to capture all of the sound sources but not so high that it causes distortion.
Set up your space to reduce ambient noise and optimize acoustics
The room that you record in can have a huge impact on the sound of your recordings. To reduce unwanted ambient noise, make sure to use acoustic treatments such as foam panels, diffusers, and bass traps to absorb any excess reflections. Try moving furniture around to create natural sound barriers plus adding rugs or carpets can help reduce any unwanted noise.
Utilize compression
Compression is a very important tool for audio engineers because it helps to reduce dynamic range in recordings as well as control levels of transients. Compressing a signal can help bring out the desired elements of a track while taming unwanted peaks or harshness.
Experiment with EQ
Equalization is key for getting the best sound out of a track. We can use it to boost or cut certain frequencies in order to bring out the desired elements and create a balanced mix. Experimenting with different EQ techniques such as high-pass filtering, mid-side processing, and multi-band compression can help take your recordings to the next level. You might like reading this: “Voice Actor Auditions – Beginner Guide For Voice Memo Recording“.
Experiment with creative recording techniques such as recording multiple takes or multi-tracking
If you’re ready to spice up your music recordings try experimenting with some creative recording techniques. One option is recording multiple takes of your tracks, which allows you to have more options for selecting the best performance.
Another technique to try is multi-tracking, where you can layer different instruments or vocal parts on top of each other to create a more complex sound. The possibilities are endless when it comes to recording, so don’t be afraid to try something new and see how it can elevate your music-making to the next level.
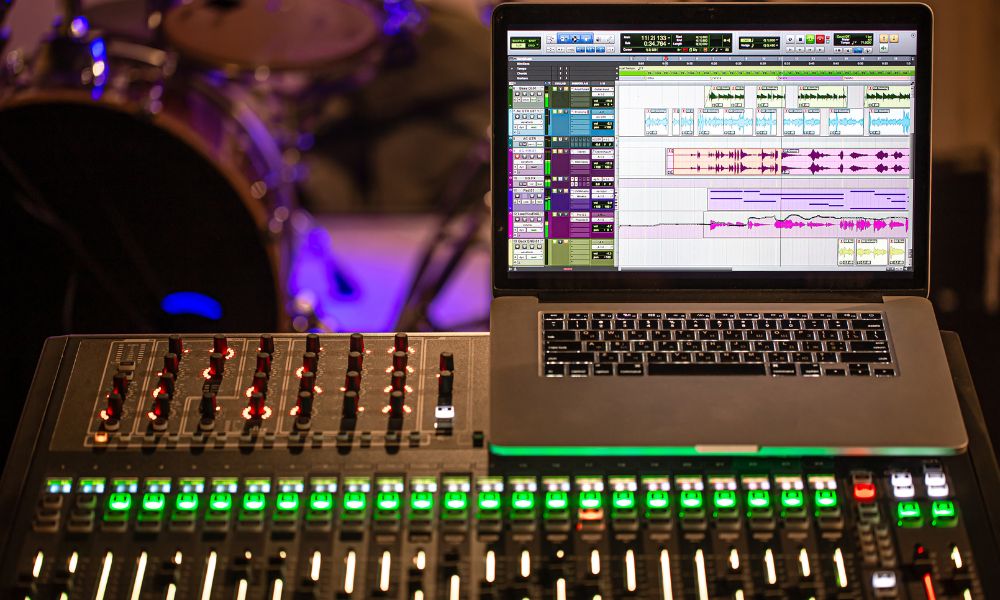
Sound mixing and mastering
Once you have your tracks recorded, it’s time to mix them together. This step is where you can really bring out the best in your recordings by balancing the levels of each track, adding effects, and creating a cohesive mix. Once you have finished mixing your tracks, you can then proceed to mastering. Mastering is the final step in the production process and involves adding any final touches such as compression, EQ, or limiting to create a polished and radio-ready sound. You can also contact us for more brief knowledge of sound mixing queries.
These are just a few tips and tricks for recording sound that you can incorporate into your setup. With practice, patience, and experimentation you’ll be well on your way to creating amazing-sounding recordings in no time.
Happy Recording!