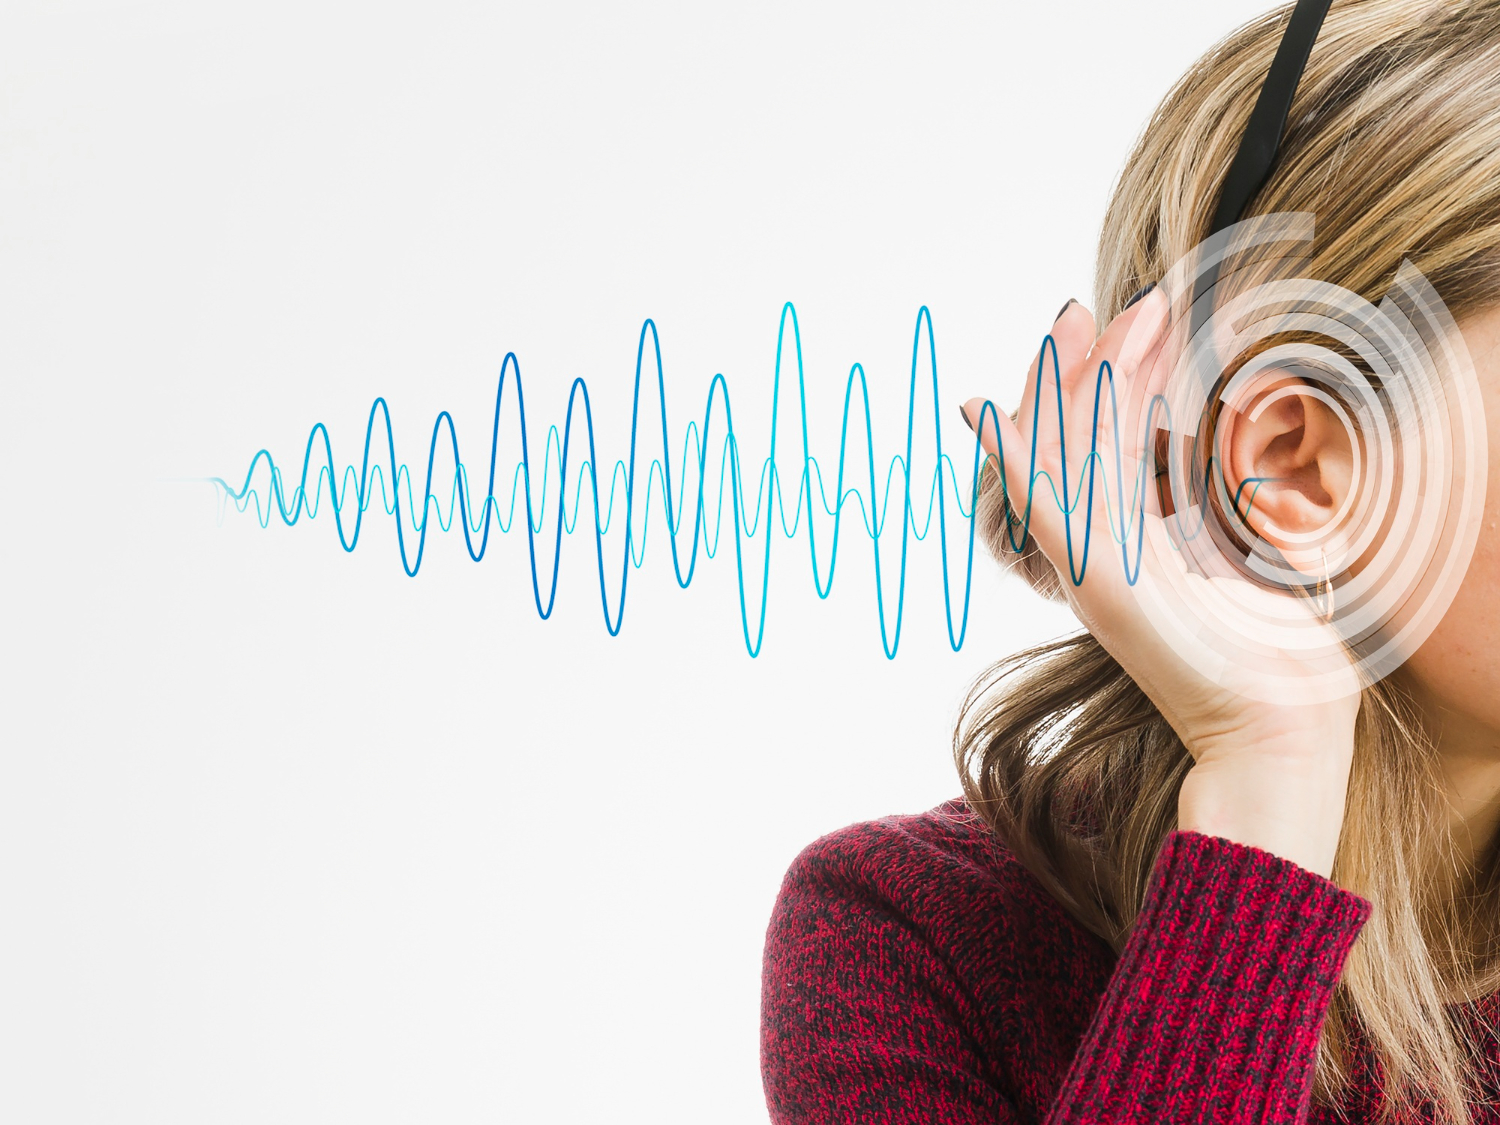
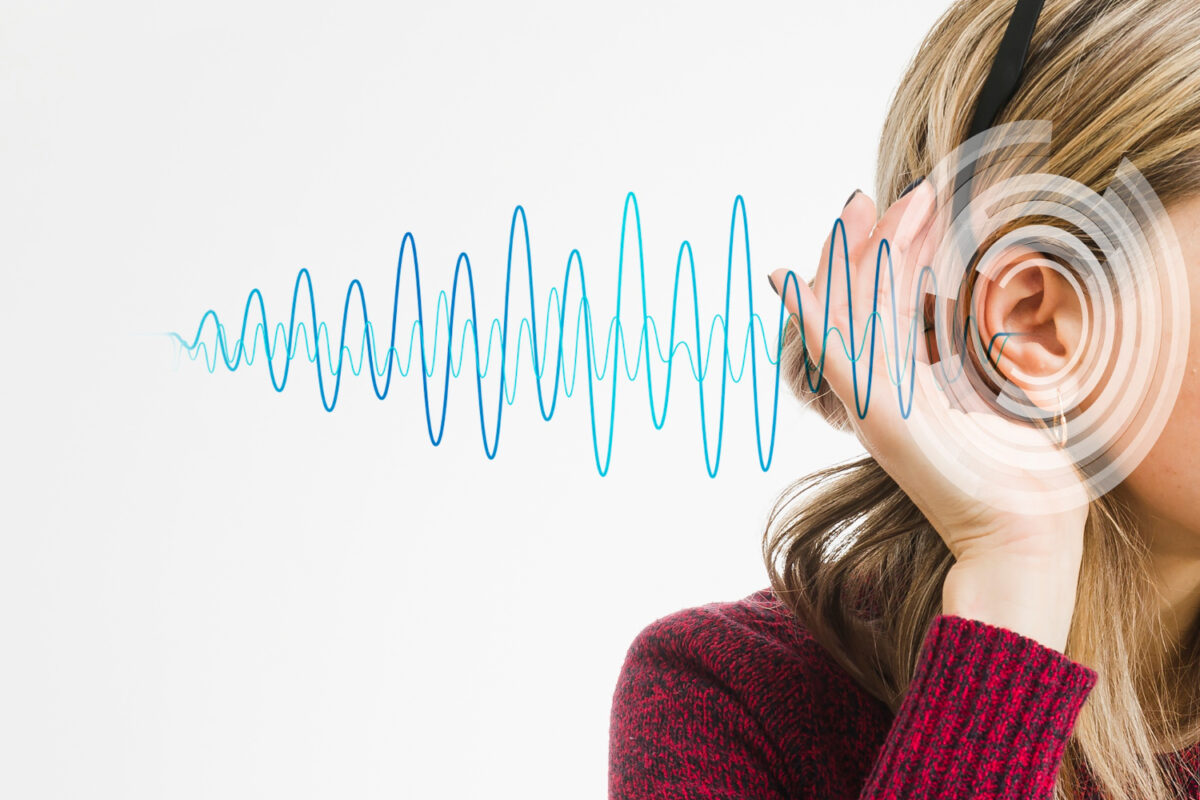
Sound recording on location can be very exciting. The opportunity to capture unique, authentic sounds in their natural environment is something that many sound professionals and enthusiasts find deeply rewarding. However, it’s not without its challenges. One of the most persistent of these is noise.
Noise, in its many forms, can be a significant obstacle to achieving the clear, high-quality sound recordings we strive for. Whether it’s the rustling of leaves, the hum of traffic, or the chatter of a crowd, unwanted noise can easily find its way into our recordings.
In this blog post, we’ll explore six expert tips for reducing noise in location-based sound recording. These strategies will not only help you manage the noise that’s already there but also prevent as much of it as possible from creeping into your recordings in the first place.
- Understanding Noise in Location-Based Sound Recording
Before we talk about the strategies for noise reduction, let’s quickly touch on what it is. Noise, in the context of sound recording, refers to any unwanted sound that interferes with what you’re trying to capture. It’s the uninvited guest that shows up at your audio party, and it can come in many forms.
There’s the obvious, like the roar of a passing truck or the chatter of people nearby. But there’s also the less noticeable, yet equally disruptive, like the hum of an air conditioner or the rustle of your own clothing. And let’s not forget about wind, which can create a broad spectrum of noise, from a gentle whisper to a howling gale.
The impact of noise on your recordings can range from mildly annoying to downright destructive. At best, it can distract from the main audio and give your recording a less professional feel. At worst, it can drown out your primary sound source and render your recording unusable.
So, how do we deal with noise? The first step is to accept that it’s impossible to eliminate all noise when recording on location. The world is a noisy place, after all. But with the right strategies and techniques, we can significantly reduce noise and make our recordings as clean and clear as possible. Let’s explore how.
Tip #1: Scouting the Location
One of the first steps in reducing noise during location-based sound recording is to scout the location beforehand. This might seem like an obvious step, but it’s one that can easily be overlooked in the excitement of a new recording project.
Visiting the location before your recording session allows you to understand its acoustic properties and identify potential sources of noise. Listen for ambient sounds like traffic, construction, or wildlife. Pay attention to the acoustics of the space. Is it echoey? Does sound carry? These factors can all impact the quality of your recording.
While you’re there, do a few test recordings. This will give you a better idea of what you’ll be working with on the day of the actual recording. Remember, the goal isn’t to find a perfectly silent location—that’s nearly impossible. Instead, aim to find a location where you can manage and control the noise as much as possible.
Tip #2: Choosing the Right Equipment
The equipment you use can significantly affect the amount of noise you capture during location-based recording. One of the most effective tools at your disposal is a voice-activated recording device. These devices start recording when they detect sound at a certain level, which can help you avoid capturing unnecessary noise.
In addition to a voice-activated recorder, consider the type of microphone you’re using. Different microphones have different pickup patterns, meaning they capture sound in different ways. For instance, a shotgun microphone is highly directional and can help isolate your sound source from unwanted background noise. Keep in mind, the most expensive equipment isn’t always the best for every situation. It’s more important to understand how to use your equipment effectively to minimize noise.
Tip #3: Positioning Your Microphone
The way you position your microphone can have a huge impact on the amount of noise you capture. The closer your microphone is to your sound source, the more prominently that sound will feature in your recording. Conversely, the further away it is, the more background noise it will pick up.
When recording dialogue, for example, aim to position the microphone as close to the speaker as possible without it being in the shot or causing discomfort. This will help their voice to stand out above any background noise.
Also, consider the direction your microphone is pointing. Most microphones are more sensitive to sounds coming from in front of them than those coming from behind or the sides. Point your microphone at your sound source and away from any significant sources of noise.
Tip #4: Using Windshields and Other Noise Reduction Accessories
Wind can be a significant source of noise when recording on location. Even a light breeze can cause unwanted noise. To combat this, consider using a windshield (also known as a windscreen) on your microphone. This can dramatically reduce the amount of wind noise captured.
In addition to windshields, there are other noise-reduction accessories you can use. For example, shock mounts can help to isolate your microphone from vibrations and handling noise.
Remember, these accessories are not a cure-all solution, but they can go a long way in helping you achieve cleaner recordings on location.
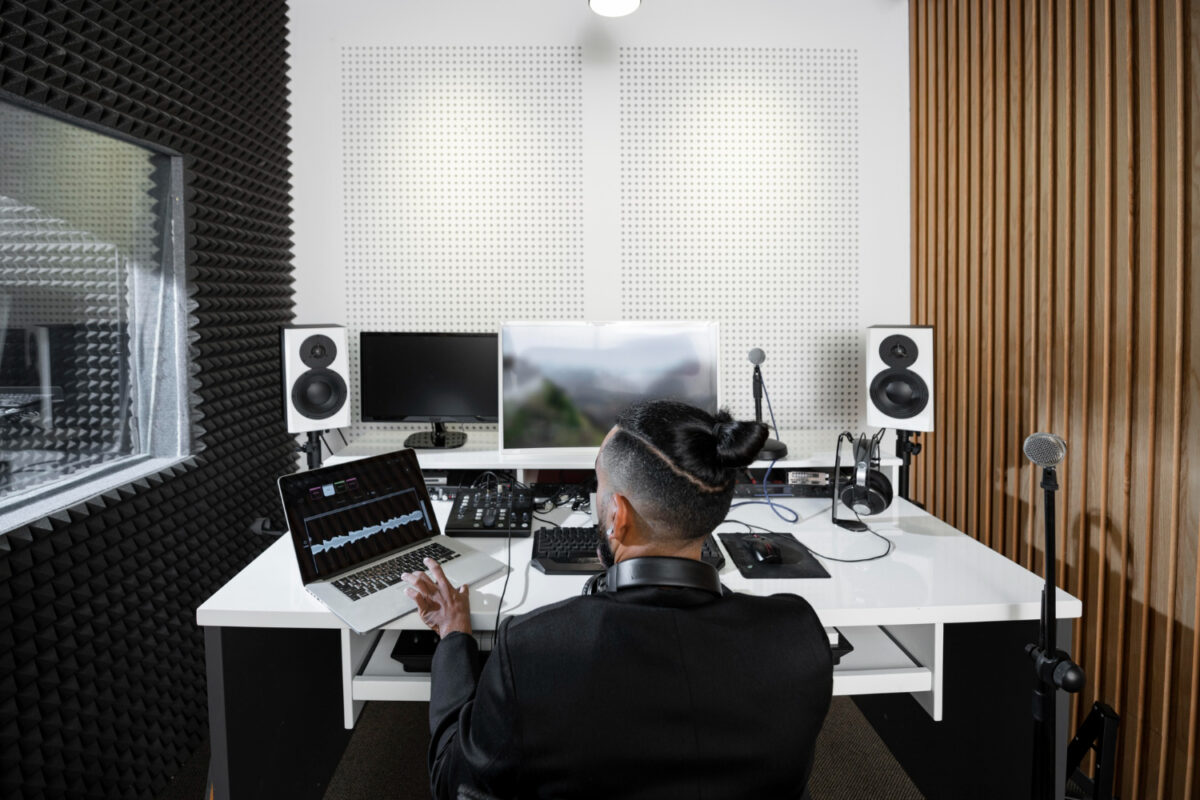
Tip #5: Post-Production Noise Reduction
Despite your best efforts, it’s likely that some amount of noise will still find its way into your recordings. This is where post-production comes in. Post-production is the stage after the actual recording where you can edit and enhance your audio to achieve the best possible final product.
One of the key aspects of post-production is noise reduction. There are many software tools available that can help you reduce noise in post-production. These tools work by analyzing your recording and helping you to isolate and reduce unwanted sounds while preserving the sounds you want to keep.
Here’s a more detailed look at the process:
- Noise Profiling: The first step in post-production noise reduction is to identify the noise you want to remove. This is done by creating a ‘noise profile’, which is a sample of the noise you want to eliminate. Most noise reduction software will allow you to select a section of your recording where only the unwanted noise is present to create this profile.
- Noise Reduction: Once you have your noise profile, you can apply it to the rest of your recording. The software will then work to reduce the sounds that match the profile across your entire recording. This process can be adjusted and fine-tuned to ensure that you’re removing as much noise as possible without negatively impacting the sounds you want to keep.
- Preserving Quality: One of the challenges of noise reduction is that aggressive noise reduction can sometimes result in a ‘processed’ sound or unwanted artifacts. To avoid this, it’s important to use noise reduction judiciously. Start with a light noise reduction setting and gradually increase it until you find the right balance between noise reduction and sound quality.
Some popular software tools for post-production noise reduction include Audacity (which is free and open-source), Adobe Audition, and iZotope RX. Each of these tools has its own unique features and capabilities, so it’s worth trying out a few to see which one works best for you.
While it’s always best to capture the cleanest sound possible at the source, post-production noise reduction can be a valuable tool in your arsenal. It’s not a magic wand that can eliminate all noise, but when used correctly, it can significantly improve the quality of your location-based sound recordings.
Tip #6: Training Your Ears
Finally, one of the most valuable tools for reducing noise in location-based sound recording is your own ears. With practice, you can learn to identify different types of noise and understand how they will impact your recording.
Training your ears is not just about listening, but about developing a deep understanding and appreciation for the sounds around you. Here are a few ways to practice and enhance your listening skills:
- Focused Listening: This involves selecting a specific sound in your environment and focusing your attention on it. Try to tune out all other sounds and listen to the nuances of the chosen sound. This can help you become more attuned to individual sounds in a noisy environment.
- Contextual Listening: This is about understanding the relationship between sounds and their environment. Listen to the sounds around you and think about how they interact with each other and the space they’re in. This can help you understand how different environments can impact the sound you’re recording.
- Comparative Listening: This involves comparing two or more sounds. You could compare the sound of the same object in different environments, or different objects in the same environment. This can help you understand how different factors can affect the sound you’re recording.
- Mindful Listening: This is about being present and fully engaged with what you’re listening to. Try to clear your mind of other thoughts and focus solely on the sounds around you. This can help you develop a deeper appreciation for sound and a more acute sense of hearing.
- Analytical Listening: This involves listening to professional recordings and trying to identify the different elements and how they’ve been recorded and mixed. This can help you develop a better understanding of how to achieve high-quality recordings.
Conclusion
Location-based sound recording presents unique challenges, but with the right strategies and techniques, you can effectively cut through the noise. From scouting your location and choosing the right equipment to positioning your microphone and using noise-reduction accessories, every step you take towards reducing noise brings you closer to capturing the sounds you want. And remember, even if some noise does sneak into your recordings, post-production tools and a well-trained ear can help you clean things up. For more details on voice activated recording device you can contact us at https://rianhunter.com/.
I hope you’ve found these tips helpful. Thanks for reading.
Get in touch with us
Related Posts
Location-Based Sound Recording: 6 Expert Tips for Noise Reduction
Enhance your audio recordings with our expert tips for noise reduction in location-based sound recording. Discover how voice-activated recording devices can effectively capture clean and clear audio in any environment. Elevate your recording quality today!
Secrets of the Sound Booth: 5 Tips to Achieve Professional-Quality Voice-Over Recordings
Unlock the art of professional voice over recordings with 5 expert tips for perfect sound booth results. Elevate your audio projects today!
About Us
Lorem ipsum dolor sit amet, consectetur adipiscing elit. Phasellus pharetra pretium leo, sed lacinia nulla. Quisque iaculis, lectus sed eleifend vehicula, mi elit facilisis purus, vitae ornare magna elit non quam.
Get in touch with us
Let’s Socialize
Get in touch with us