What are voice memos, and why are they important? Well, think about those instances when inspiration strikes, or when you need to capture a brilliant idea before it slips away. Voice memos allow you to instantly capture your thoughts, without the need for pen and paper. Plus, with the rise of remote work and virtual communication, voice memos have become a valuable tool for conveying information and sharing updates with colleagues and friends. You can visit us here: “Rian/Hunter Production“.
Throughout this guide, we’ll not only focus on the basics of recording voice memos but also provide tips and techniques to help you achieve clear and crisp audio. We’ll discuss the importance of microphone selection, microphone placement, and creating an optimal recording environment. By the end of this post, you’ll have the skills to capture voice memos that sound professional and engaging. Get ready to unlock the power of voice memos and learn how to record with confidence. Let’s dive in and discover the secrets to capturing crystal-clear audio in your voice memos.
Understanding Voice Memos
Alright, let’s start by getting a clear understanding of what voice memos are all about. In simple terms, voice memos are audio recordings made with the purpose of capturing spoken words, ideas, or any other sound you want to preserve. The beauty of voice memos lies in their versatility. You can use them for a variety of purposes in your daily life. Need to remember a brilliant idea that popped into your head while taking a stroll? Whip out your phone and record a voice memo. Want to make a to-do list without typing a single word? Voice memo to the rescue. Have an important lecture or meeting to attend but can’t take detailed notes? You guessed it – voice memos have got your back.
So, what are some of the benefits of using voice memos? Well, first and foremost, they offer incredible convenience. Unlike traditional note-taking methods, voice memos allow you to capture your thoughts instantly, without the need to find a pen or paper. Plus, they let you preserve the nuances of your voice, tone, and emotions, adding a personal touch that written words sometimes lack.
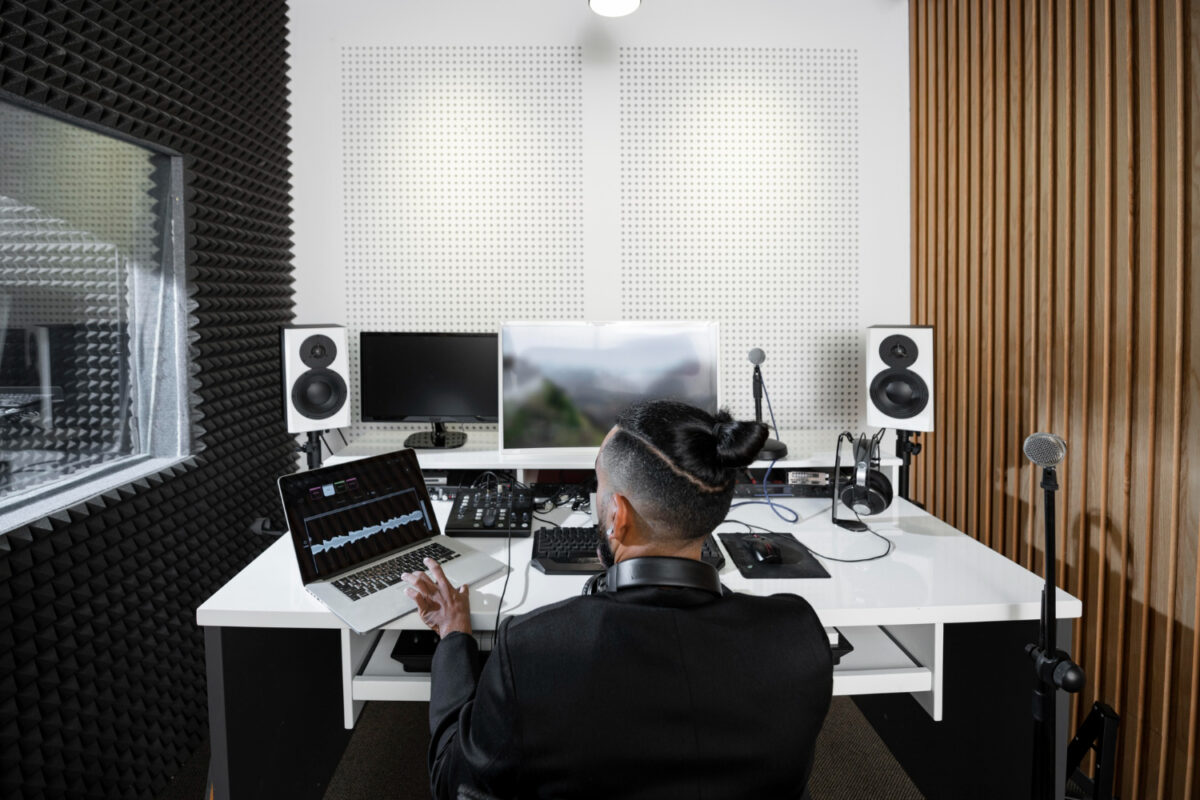
Now, let’s talk about the different devices and platforms you can use to record voice memos. The most common option is your smartphone, which likely has a built-in voice recording app. These apps are user-friendly and offer basic features to get you started. Alternatively, you can also use dedicated voice recorders, which come in a variety of sizes and functionalities. These recorders often offer superior audio quality and more advanced features for professional use.
Furthermore, with the advent of technology, there are numerous software applications available for recording voice memos on your computer or laptop. These applications range from simple and lightweight ones to more robust and feature-rich tools designed for audio professionals. Whatever device or platform you choose, the underlying principle remains the same – capturing your voice and preserving it for future use.
Preparing for a Voice Memo Recording
Before you hit that record button, it’s important to set the stage for a successful voice memo recording. Taking a few moments to prepare can make a world of difference in the quality of your audio. Here are some key steps to follow:
Selecting the right recording device:
When it comes to recording voice memos, you have a range of options. If you’re using a smartphone, explore the built-in voice recording app or consider downloading a dedicated voice recording app from the app store. These apps are typically easy to use and provide basic features for capturing audio. If you prefer a more professional setup, consider investing in a dedicated voice recorder. These devices offer superior audio quality, advanced features, and better control over your recordings.
Choosing a suitable environment for recording:
The environment in which you record your voice memos plays a significant role in the overall audio quality. Ideally, find a quiet space where external noises are minimized. Avoid areas with excessive background noise, such as busy streets, construction sites, or rooms with echoing acoustics. If possible, choose a room with carpeted floors or add some soft furnishings to reduce reverberations.
Considering microphone placement and distance:
Once you’ve chosen your recording device, it’s time to think about microphone placement. The distance between your mouth and the microphone can greatly impact the clarity and volume of your voice. Generally, it’s best to position the microphone around 6-12 inches away from your mouth. Experiment with different distances to find the sweet spot that captures your voice accurately without picking up excessive room noise.
By taking the time to select the right recording device, choosing a suitable recording environment, and considering microphone placement, you’ll lay the foundation for a successful voice memo recording. Remember, a little preparation goes a long way in achieving clear and professional-sounding audio.
Setting Up Your Recording Equipment
Now that you have your recording device ready, it’s time to set up your recording equipment for optimal audio capture. Whether you’re using a smartphone, a dedicated voice recorder, or a computer with an external microphone, these steps will help you get the most out of your setup:
Microphone types and their characteristics:
The two main types you’ll encounter are dynamic microphones and condenser microphones. Dynamic microphones are rugged, versatile, and suitable for capturing a wide range of sounds, making them a popular choice for voice memos. Condenser microphones, on the other hand, offer superior sensitivity and capture more detail, often used in professional recording studios. Consider your specific needs and budget when selecting a microphone for voice memo recording.
Connecting the microphone to your device or computer:
Once you have your microphone ready, it’s time to connect it to your recording device or computer. If you’re using a smartphone, most external microphones connect via the headphone jack or through a USB adapter, depending on the model of your phone. For dedicated voice recorders, they often have a dedicated microphone input or XLR inputs for connecting professional microphones. If you’re using a computer, you may need an audio interface to connect your microphone, which provides better audio quality and control.
Adjusting audio settings and levels for optimal recording:
To ensure your voice memo recordings sound their best, it’s important to adjust the audio settings and levels on your recording device or computer. Start by accessing the audio settings menu and look for options such as gain, input level, or microphone sensitivity. Set the level to a point where your voice is captured clearly without distortion or clipping. Avoid setting the level too low, as it may result in a weak or muffled sound. Test different levels and make adjustments until you find the sweet spot for your voice.
Recording Techniques for Clear and Crisp Audio
Now that your recording equipment is set up, it’s time to focus on recording techniques that will help you achieve clear and crisp audio in your voice memos. Paying attention to these tips will elevate the quality of your recordings and make them more enjoyable to listen to. Let’s dive in:
Tips for proper microphone usage:
- Maintain a consistent distance: To ensure consistent audio levels and clarity, keep a steady distance between your mouth and the microphone throughout the recording. Avoid moving too close or too far away, as it can result in inconsistent volume or muffled sound.
- Position the microphone correctly: Aim the front of the microphone towards your mouth for optimal capture. Be mindful of any handling noise or contact with the microphone, as it can create unwanted sounds. Use a microphone stand or a suitable mount to keep it steady.
Controlling background noise and room acoustics:
- Choose a quiet environment: Select a recording space with minimal background noise. Turn off any fans, air conditioning units, or other noisy appliances. If there are unavoidable noises, try to schedule your recording sessions during quieter times.
- Reduce echo and reverberation: If you’re in a room with hard surfaces that cause echoes, minimize them by using carpets, curtains, or furniture to absorb sound reflections. This helps to achieve a more intimate and controlled sound.
Using pop filters and windshields:
- Pop filters for reducing plosive sounds: Plosive sounds like “p” and “b” can cause unpleasant bursts of air hitting the microphone. A pop filter placed between your mouth and the microphone helps to minimize these plosive sounds, resulting in cleaner audio.
- Windshields for outdoor recordings: If you’re recording voice memos outdoors or in windy conditions, a windshield or foam cover over the microphone can prevent wind noise from interfering with your recording. It acts as a shield against gusts of wind and keeps your audio clear.
By following these recording techniques, you’ll be well on your way to capturing voice memos with exceptional clarity and professionalism. Remember to practice and experiment with different settings and approaches to find what works best for your unique voice and recording environment.
Capturing the Perfect Voice Memo
Now that you have a solid foundation in recording techniques, let’s focus on capturing the perfect voice memo. Paying attention to these finer aspects will take your recordings to the next level and ensure that your voice shines through with clarity and impact. Here’s what you need to know:
Speaking clearly and maintaining a consistent volume:
- Articulate your words: Enunciate your words clearly to ensure that every syllable is captured accurately. Pay attention to your pronunciation and avoid mumbling or rushing through your sentences.
- Control your volume: Maintain a consistent volume throughout your recording. Avoid sudden changes in loudness, as they can cause distortion or make it difficult for listeners to hear you clearly. Speak with a confident and controlled voice.
Using proper posture and positioning:
- Sit or stand up straight: Maintaining good posture allows for better breath control and vocal resonance. Sit or stand up straight, relax your shoulders, and take deep breaths before you start recording.
- Position yourself comfortably: Find a position that allows you to comfortably reach the microphone while maintaining good posture. Avoid slouching or straining your neck, as it can affect the quality of your voice and your overall comfort during recording.
Experimenting with distance and angles:
- Explore optimal microphone distance: Depending on the sensitivity of your microphone, experiment with different distances to find the sweet spot that captures your voice clearly without picking up excessive room noise.
- Adjust angles for desired sound: Move slightly to the left or right of the microphone to find the best angle for your voice. This can help in achieving a more balanced and pleasing sound, depending on your vocal characteristics.
Editing and Enhancing Your Voice Memos

Now that you have your raw voice memo recordings, it’s time to unleash the power of editing and enhance them further. Editing allows you to fine-tune your recordings, remove any imperfections, and polish them to perfection. Let’s explore the essential steps and techniques for editing and enhancing your voice memos and voice actor auditions:
Overview of popular audio editing software and applications:
- Audacity: Audacity is a free, open-source audio editing software available for Windows, Mac, and Linux. It provides a wide range of editing tools and effects to manipulate your voice memos.
- Adobe Audition: Adobe Audition is a professional-grade audio editing software that offers advanced features for precise editing and enhancement. It provides a comprehensive set of tools to elevate your voice memos to a professional level.
- GarageBand: GarageBand is a user-friendly audio editing software exclusive to Mac users. It offers a simplified interface and a variety of effects and tools for editing and enhancing your voice memos.
Basic editing techniques such as trimming, cutting, and merging:
- Trimming: Remove any unwanted sections or silence at the beginning or end of your voice memo. Trim the audio to keep only the essential parts.
- Cutting and deleting: If you made any mistakes or want to remove specific parts of your recording, use the cutting and deleting tools to remove them seamlessly.
- Merging and rearranging: If you have multiple voice memo recordings that you’d like to combine or rearrange, use the merging and arranging functions to create a cohesive final product.
Enhancing audio quality through noise reduction and equalization:
- Noise reduction: Apply noise reduction techniques to eliminate background noise or hiss from your voice memo recordings. Use the noise reduction tools available in your chosen audio editing software to clean up the audio.
- Equalization: Adjust the frequencies of your voice memo recordings using equalization. Enhance the clarity and presence of your voice by boosting or reducing specific frequency ranges. Experiment with EQ presets or manually adjust the sliders to achieve the desired sound.
Remember to save your edited voice memos in a high-quality audio format such as WAV or FLAC to preserve the integrity of your recordings.
Sharing and Saving Your Voice Memos
Now that you have your beautifully edited voice memos, it’s time to save and share them with the world. Here are some quick tips for sharing and saving your voice memos effectively:
- Choose the right format: Consider the purpose and desired audio quality when selecting a format for saving your voice memos. Common options include WAV, FLAC, and MP3. WAV and FLAC offer higher audio quality, while MP3 is more compressed for smaller file sizes.
- Compression settings: If you opt for a compressed format like MP3, experiment with different compression settings to find the right balance between file size and audio quality.
- Sharing options: To share your voice memos, you can attach them to emails or use messaging apps for smaller files. For larger files, consider using cloud storage services like Google Drive or Dropbox. Upload your voice memos and share the download links with others.
Remember to respect privacy and obtain consent from others before sharing voice memos involving them. Also, follow any specific technical guidelines provided by casting directors or audition platforms when submitting voice memos for voice actor auditions.
Conclusion
Congratulations on completing our beginner’s guide to voice memo recording. We’ve covered a lot of ground and explored the ins and outs of capturing clear and crisp audio in your voice memos. Let’s recap the key points we’ve discussed:
– Voice memos are versatile tools that allow you to capture spoken words, ideas, and reminders on the go.
– Selecting the right recording device, choosing a suitable environment, and considering microphone placement are essential for preparing for a voice memo recording or voice actor auditions.
– Proper microphone usage, controlling background noise, and using pop filters and windshields are techniques that contribute to clear and high-quality audio.
– Speaking clearly, maintaining proper posture, and experimenting with distance and angles help capture the perfect voice memo.
– Editing and enhancing your voice memos using audio editing software, trimming, cutting, and applying noise reduction or equalization techniques can elevate the quality of your recordings.
– Saving your voice memos in appropriate formats, considering compression options, and sharing them via email, messaging apps, or cloud storage make them accessible to others.
Now, armed with this knowledge, it’s time for you to start on your voice memo recording journey. Whether you’re a student, professional, or aspiring voice actor, and voice actor auditions, the power to capture your thoughts and ideas with clarity and impact is in your hands. So, grab your recording device, find a quiet space, and let your voice be heard.