Sound recording is an art form that has the power to transport us to different worlds, evoke deep emotions, and tell compelling stories. It’s a crucial component of our favorite songs, movies, and podcasts. Yet, it’s often overlooked or taken for granted. In this blog post, I aim to guide you through the basics of sound recording, and sound effect design, helping you understand its importance, the equipment you’ll need, and how to get started with your very own recordings. For more insights, you can visit us here: “Rian/Hunter Production“.
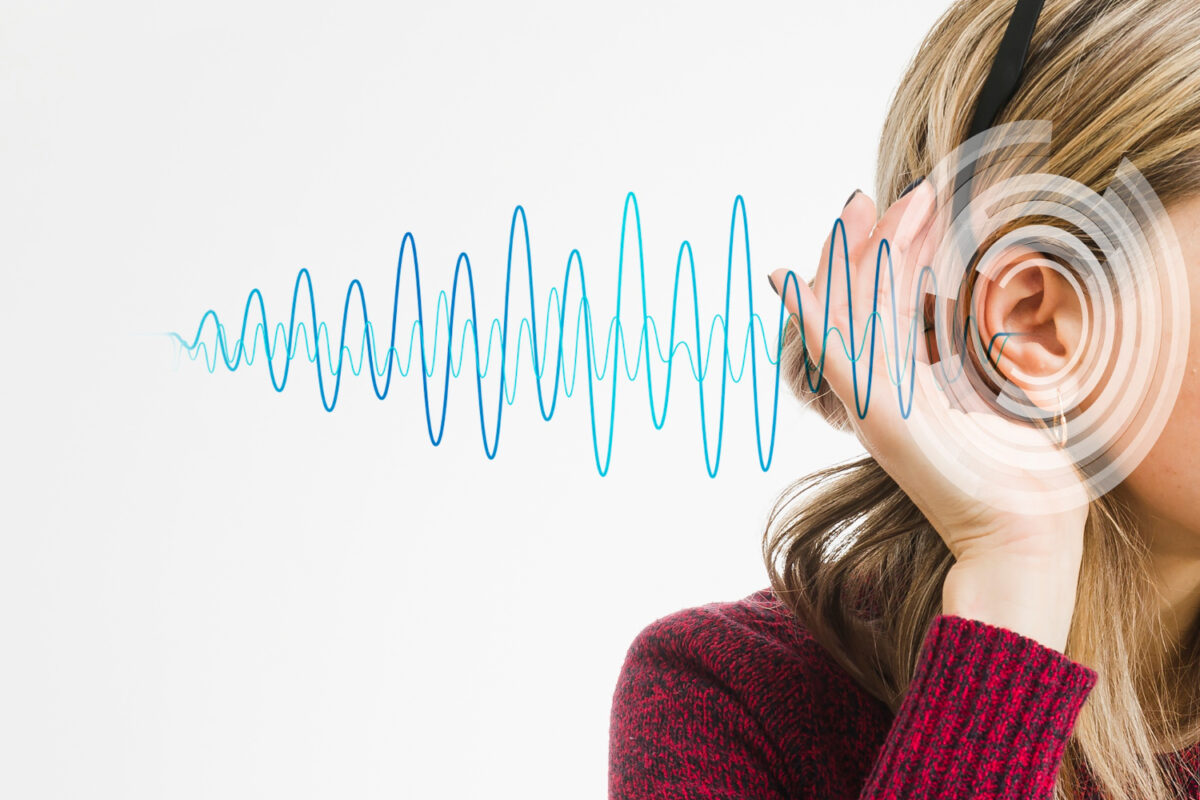
But, before we dive into the technicalities of sound recording, let’s touch on what sound is and how it works. Sound, in its most basic form, is a type of energy made by vibrations. When an object vibrates, it causes the air particles around it to move, creating pressure waves that we perceive as sound.
Also, sound plays a pivotal role in our lives. It’s not just about music or dialogue in films; it’s about communication, expression, and experience. Think about the rustling of leaves on a windy day, the bustling sounds of a city, or the soothing rhythm of waves crashing against the shore. These are all sounds that paint a picture, tell a story, and create an immersive experience.
In various forms of media, sound takes on an even more significant role. In films, for instance, it’s not just the dialogue that matters. The background score, the sound effects, the silence – they all come together to enhance the narrative and evoke emotions. In music, sound is the medium of expression itself. And in podcasts, the quality of sound can make the difference between a professional and an amateur production.
Moreover, understanding and appreciating the power of sound is the first step in your sound recording journey. It’s what will drive you to capture the best sounds and use them to create impactful auditory experiences. So, the next time you listen to a piece of music, watch a film, or tune into a podcast, pay attention to the sound. You’ll start to notice how it enhances the overall experience, and that, my friend, is the beauty of sound.
Essential Equipment for Sound Recording
Now that we’ve covered the basics of sound, let’s talk about the tools of the trade. There are many tools out there available but lets stick to the basics and break it down.
- Microphones: The microphone is your primary tool for capturing sound. There are various types of microphones, each suited for different recording situations. For instance, dynamic microphones are great for live performances and loud sources, while condenser microphones are perfect for capturing vocals and high-frequency details in a studio setting.
- Audio Interfaces: An audio interface is a device that connects your microphone to your computer, converting the analog signal from your mic into a digital signal that your computer can process. It’s essential for recording high-quality sound.
- Headphones and Speakers: To accurately hear what you’re recording and playing back, you’ll need a good pair of closed-back headphones for recording and open-back headphones or studio monitors for mixing.
- Software – Digital Audio Workstations (DAWs): This is where you’ll record, edit, and mix your sound. There are many DAWs to choose from, like Pro Tools, Ableton Live, and GarageBand, each with its own strengths and learning curves.
Choosing the right equipment can seem daunting, but remember, the best equipment for you depends on your specific needs and budget. Start with the basics and upgrade as you go along.
Introduction to Sound Effect Design
Now that we’ve got our equipment sorted, let’s explore one of the most creative and fun aspects of sound recording – sound effect design.
Furthermore, sound effect design, in essence, is the art of creating and manipulating sounds to enhance a story or an experience. It’s what makes a film or a video game immersive, a song evocative, or a podcast engaging. From the subtle rustling of leaves in a quiet forest scene to the dramatic explosion in an action sequence, sound effects bring the visuals to life, adding depth and dimension.
Creating your own sound effects can be incredibly rewarding. It allows you to add a personal touch to your recordings, making them unique and distinctive. Plus, it’s a lot of fun! You could use everyday objects in creative ways to produce interesting sounds.
- For instance, crumpling a plastic bag could mimic the sound of a crackling fire.
- Shaking a metal chain could replicate thunder.
- Waving a pair of gloves or a book in the air near your microphone can sound like a bird flapping its wings. With some editing and manipulation in your DAW, you can make it sound just like a bird taking flight.
But sound effect design isn’t just about recording new sounds. It’s also about manipulating and enhancing existing sounds using your Digital Audio Workstation. You can alter the pitch, add reverb, or layer multiple sounds to create the desired effect. The possibilities are endless.
Remember that sound effect design is an art form. It requires practice, experimentation, and a keen ear. But most importantly, it requires you to think outside the box and let your creativity run wild.
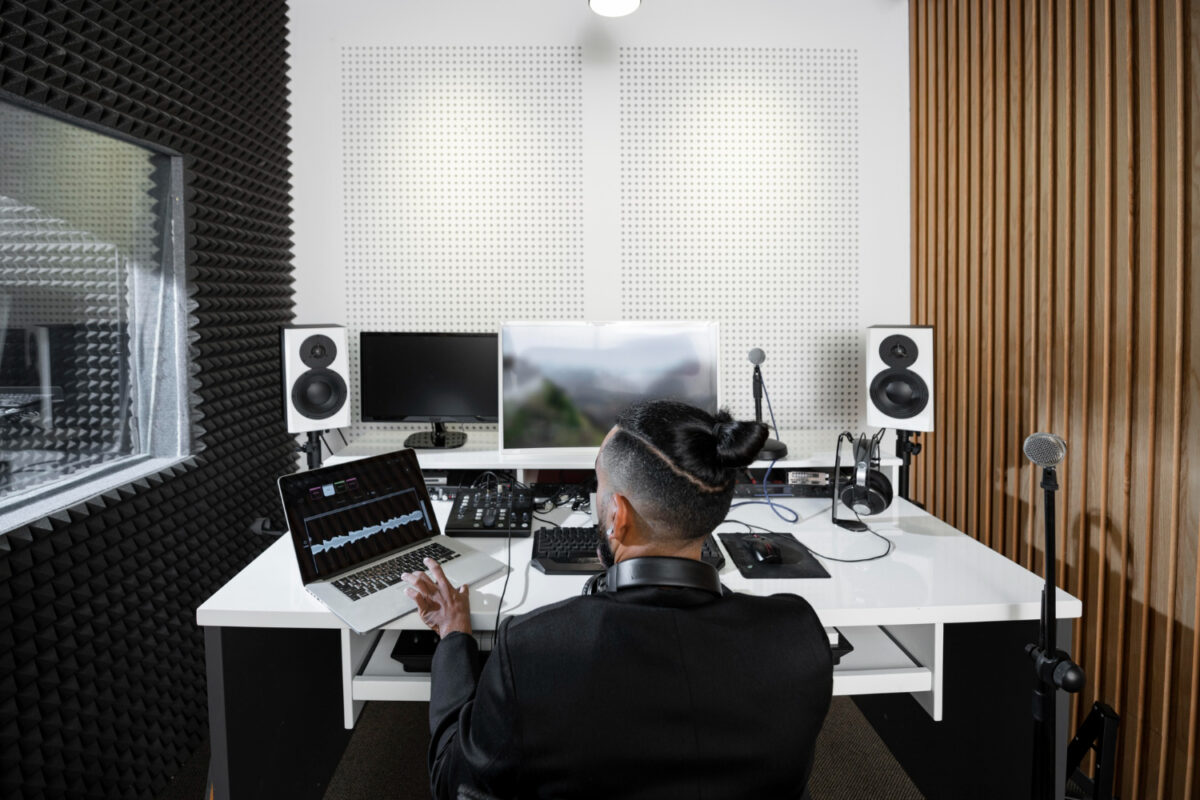
Setting Up Your First Home Studio
Now that we’ve covered the basics of sound and sound effect design, it’s time to create a space where you can bring all these elements together – your very own home studio.
Choosing the Right Space
The first step in setting up your home studio is choosing the right space. Ideally, you want a quiet, well-insulated room where you won’t be disturbed. Also, the size of the room will depend on what you’re planning to record. If you’re recording vocals or a podcast, a smaller room might suffice. But if you’re planning to record instruments, you might need a larger space.
Setting Up Your Equipment
Once you’ve chosen your space, it’s time to set up your equipment. Start with your computer and audio interface, then set up your microphone and headphones. Make sure everything is connected correctly and that your DAW is installed and ready to go.
Soundproofing and Acoustics
Soundproofing your studio is crucial to eliminate background noise and prevent sound from leaking in or out of your studio. Also, you can use foam panels, bass traps, and diffusers to improve the acoustics of your room. Remember, the goal is to create a neutral-sounding space where you can accurately hear what you’re recording and playing back.
Setting up your first home studio might seem like a big task, but it doesn’t have to be perfect from the get-go. Start small, learn as you go, and gradually improve your setup.
Recording Your First Sound
With your home studio set up and ready to go, it’s time to record your first sound. This is a thrilling step in your sound recording journey, and I’m here to guide you through it.
Step-by-step Guide to Recording
- Set Up Your Microphone: Position your microphone correctly depending on what you’re recording. If you’re recording vocals, the microphone should be at mouth level. If you’re recording an instrument, position the microphone where it can best capture the sound.
- Check Your Levels: Before you start recording, do a sound check to make sure your levels are correct. You want to ensure the sound is loud enough to be clear but not so loud that it distorts.
- Hit Record: Once everything is set, it’s time to hit record on your DAW and start capturing the sound.
- Monitor Your Recording: Use your headphones to listen as you record. This will help you catch any issues or noises that might interfere with the recording.
Tips for Achieving the Best Sound Quality
– Room Tone: Before you start recording, capture a few seconds of silence. This is known as room tone and can be useful during editing to create a seamless listening experience.
– Avoid Plosives: Plosives are bursts of air that can cause a popping sound when you’re recording vocals. Use a pop filter to prevent this.
– Stay Consistent: Try to maintain a consistent position relative to the microphone to ensure the sound level remains constant.
Common Mistakes to Avoid
– Background Noise: Make sure your recording environment is as quiet as possible to avoid capturing unwanted background noise.
– Overloading the Microphone: If the sound is too loud, it can cause distortion. Always check your levels before you start recording.
Recording your first sound is an exciting experience. Remember, it’s okay to make mistakes. The key is to learn from them and keep improving.
Post-Production: Editing and Mixing
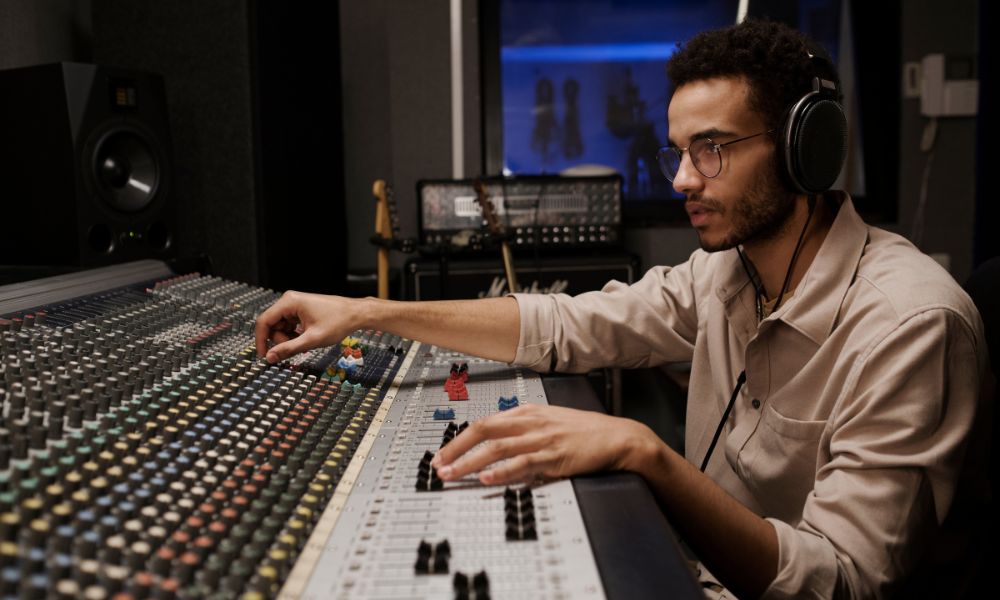
Once you’ve recorded your sound, the next step is post-production. This is where you’ll edit and mix your recordings to create a polished final product.
Overview of the Post-Production Process
Post-production involves several steps, including editing, mixing, and mastering.
- Editing: This is where you’ll clean up your recordings, remove any unwanted noises, and arrange your tracks. You can also add effects and manipulate your sounds in this stage.
- Mixing: In the mixing stage, you’ll balance the levels of your different tracks, pan sounds to create a stereo image, and use equalization and compression to enhance the sound.
- Mastering: The final step is mastering, where you’ll ensure your track sounds cohesive and is at the right volume level. This step requires a keen ear and a deep understanding of sound, so many beginners choose to hire a professional mastering engineer.
Introduction to Basic Editing Techniques
Editing is a crucial part of the post-production process. Here are a few basic techniques:
– Cutting: This allows you to remove unwanted parts of your recording.
– Fading: Fades can be used at the beginning or end of a track to smoothly transition in or out.
– Time Stretching: This allows you to change the speed of a sound without affecting its pitch.
– Pitch Shifting: This allows you to change the pitch of a sound without affecting its speed.
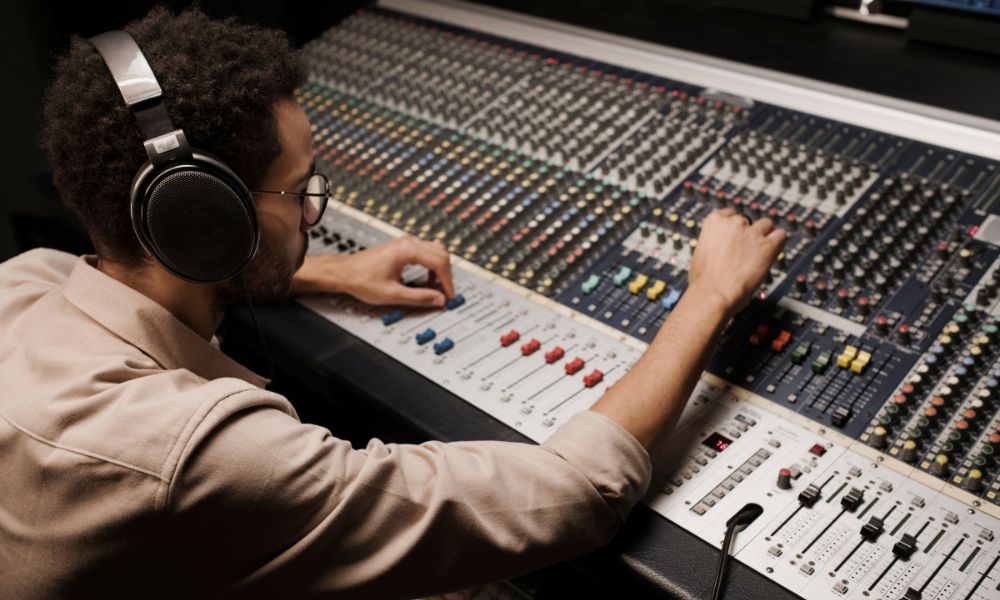
Basics of Sound Mixing
Sound mixing is all about balance. You want to ensure that all your sounds work together and that no single sound is overpowering the others. Here are a few basic mixing techniques:
– Level Balancing: This involves adjusting the volume of your tracks so they all sit well together.
– Panning: This allows you to position a sound in the stereo field, giving your mix a sense of width and space.
– Equalization (EQ): This allows you to boost or cut specific frequencies in a sound, helping it sit better in the mix.
– Compression: This reduces the dynamic range of a sound, making the quiet parts louder and the loud parts quieter.
Post-production is where your recordings come to life. It’s a meticulous process that requires patience and a keen ear. But with practice, you’ll be able to transform your raw recordings into polished, professional-sounding tracks.
Building Your Skills and Portfolio
As you get further into your journey of sound recording, continuous learning, and improvement will be key. Also, the field is constantly evolving, with new techniques and technologies emerging all the time. Staying curious and open to learning will help you keep up with these changes and hone your skills.
Tips for Continuous Learning and Improvement
- Practice Regularly: The more you record, the better you’ll get. Make it a habit to record something every day, even if it’s just for a few minutes.
- Learn from Others: Join online communities, attend workshops, and follow industry professionals. This will expose you to new ideas and techniques.
- Experiment: Don’t be afraid to try new things. Experiment with different sounds, effects, and editing techniques. You might discover something amazing!
- Get Feedback: Share your work with others and be open to their feedback. It can provide valuable insights and help you improve.
Importance of Creating a Portfolio
A portfolio is a collection of your best work. It’s what you’ll show to potential clients or employers to demonstrate your skills and experience. Here are a few tips for creating a compelling portfolio:
- Quality Over Quantity: It’s better to have a few excellent pieces than a lot of mediocre ones. Choose your best work for your portfolio.
- Diversity: Show a range of work that showcases your versatility. Include different types of sound recordings, such as music, sound effects, and dialogue.
- Presentation: Make sure your portfolio is well-organized and easy to navigate. If it’s online, ensure the audio quality is high and the files load quickly.
Ways to Gain Experience and Exposure in the Industry
Getting your foot in the door can be challenging, but there are several ways to gain experience and exposure:
- Internships: An internship at a recording studio or production company can provide valuable hands-on experience.
- Freelance Work: Consider taking on freelance projects. This can help you build your portfolio and establish a reputation in the industry.
- Networking: Attend industry events and join online communities. Networking can open up opportunities and help you learn from others in the field.
Conclusion
In conclusion, We’ve covered a lot of ground in this post, from understanding the basics of sound to setting up your home studio, recording your first sound, and even navigating the post-production process. But remember, this is just the beginning of your journey in sound recording. Sound recording is a field that combines technical knowledge with creativity. Also, it’s an art form that allows you to capture the world in a unique way and tell stories through sound. Whether you’re recording music, creating sound effects for films, or producing a podcast, the skills you’ve learned here will serve as a solid foundation. But like any art form, mastering sound recording takes time and practice. Moreover, don’t be discouraged if your early recordings don’t sound as good as you’d like. Keep experimenting, keep learning, and most importantly, keep recording. With each recording, you’ll get better and better.
Now, it’s your turn to step into the world of sound recording. I encourage you to take what you’ve learned here and start recording. Remember, the most important step is the first one. So, grab your microphone, hit record, and start capturing the sounds around you.